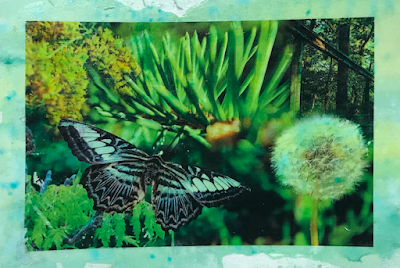
Watercolor Transfer Print

In graphic design, we created watercolor transfer prints. Here's how we did it. First, we chose our favorite project from the year so far, and opened it in Adobe Photoshop. We cropped it to be a bit smaller, and made a black and white copy. This is just so we would have two to chose from, whichever you preferred in the end. Next, we printed them out and cut them so they would have a rim of blank paper about half an inch thick all the way around your project. Then, we took a sheet of watercolor paper, tore it in half, and watercolored them how we saw fit. Once the watercolors dried, we took our picture and spread a thick layer of mod podge onto the ink. You should just barely be able to see your picture through the mod podge. Leave the blank rim around the picture clean, don't coat it so you can hold it. Place the picture, mod podge side down, onto the watercolor. Spread it around and flatten it out a little; does not have to be precise, just starting you off. Next, take...